- Mac or PC files accepted.
- Please save QuarkXPress, Adobe InDesign, Mircrosoft Office to High Quality PDF format.
- Photoshop: Flatten layers and save as TIF or JPG. 150 dpi at final size recommended.
- Illustrator: Flatten layers, convert text to outlines, flatten transparencies and save as EPS or PDF.
- Please create art using CMYK color. Using RGB may cause a shift in color when printed.
- Keep in mind when setting up banners to keep any live area (usually text and logos) at least 2″ from the edges. 1″ is the bare minimum. This will ensure that the text and logos will not be sewn into when the banner is hemmed.
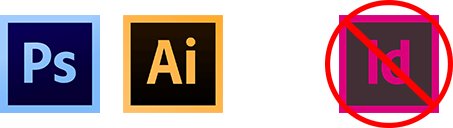
While we can work with native Photoshop and Illustrator files, we do not accept native inDesign files. Please follow the instructions above for exporting your .indd files as PDF or EPS
PLEASE NOTE: Production time may increase if problems are encountered with files that are not set up correctly.
Printing Spot White in Illustrator
- Open your file in Illustrator, create a new layer below your artwork layer, name it “spot white”. *make sure all your fonts are outlined before proceeding
- Select the object that will be getting white ink, copy and paste it in your new spot white layer.
- Merge all paths in the object and set the color to magenta (this will be printed white)
- If your object is not a vector path, you will have to trace around the shape with the Pen tool, that will serve as your spot white shape.
- Save the final file as .EPS or .AI
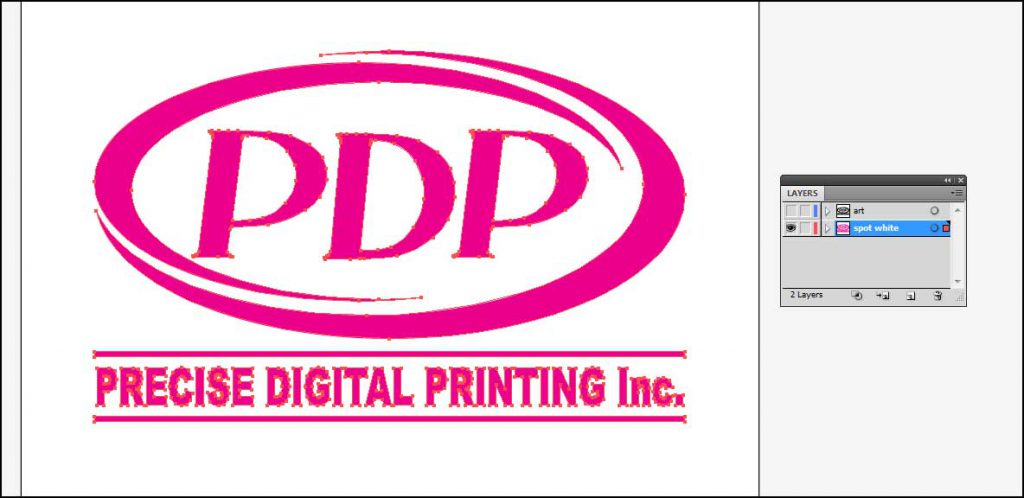
Spot white objects are usually one color, we use magenta to show what parts will print in white ink.
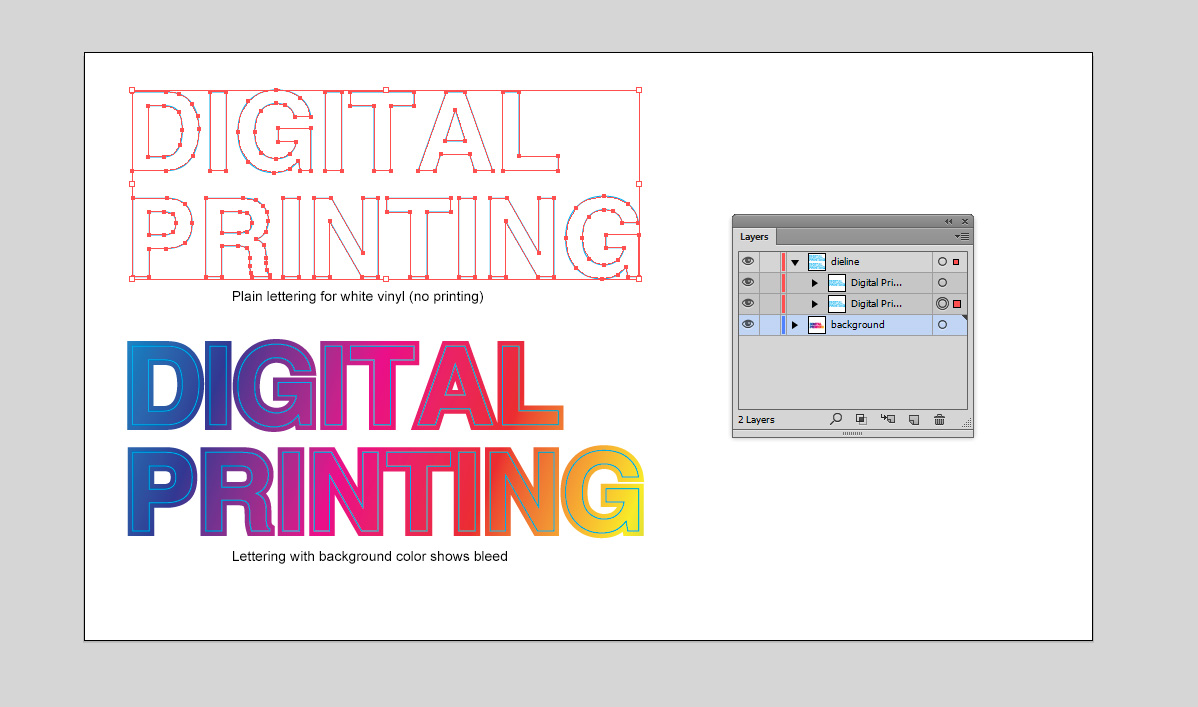
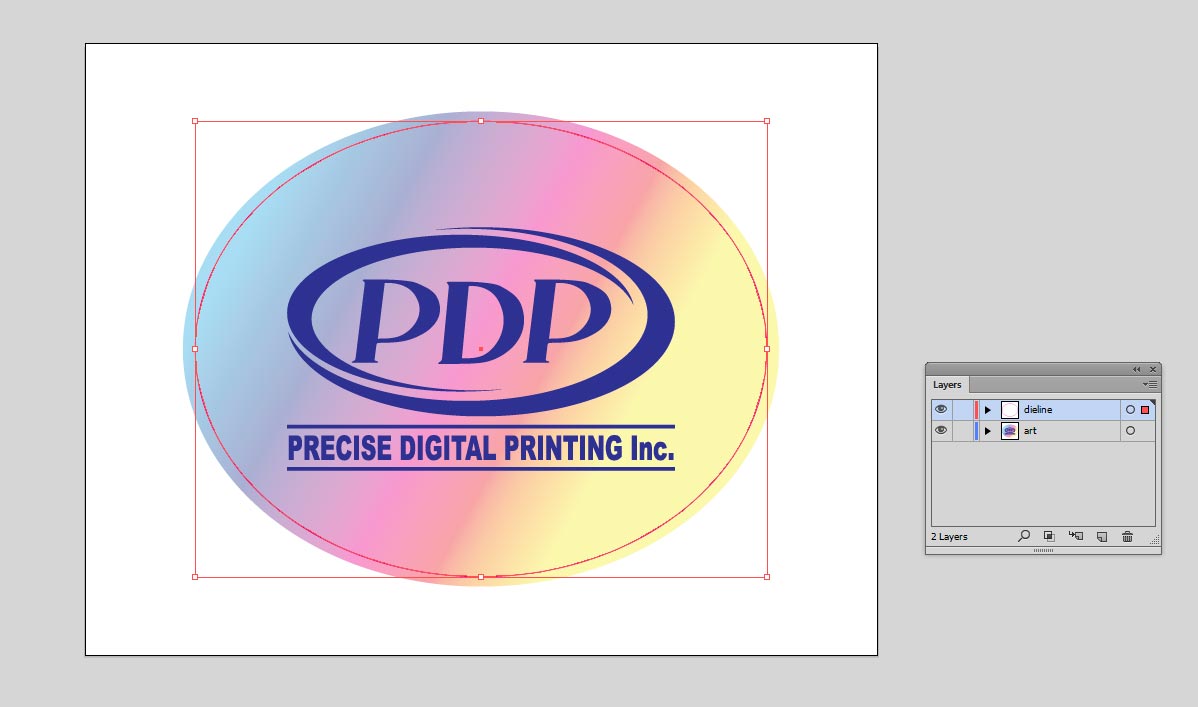
Dielines and Contour Cutting
Follow these steps to create a custom dieline for your print
- Open your file in Illustrator, create a new layer above your artwork layer, name it “dieline”.
- Depending on the shape of the cutline, you can copy the existing vector shapes in your artwork or create one solid shape using the path tool (like a circle or square)
- If your artwork has a background color or design, please stretch it slightly to create bleed around the dieline
- Your dieline path will be 1pt stroke only, you can also use magenta as contrasting color – this line will not print
- Save the final file as .EPS or .AI – do not outline strokes when saving
Set up for Banners with Sewing
All of our banners come with standard finishing of hems and grommets all around. The hems are about 1″ thick and grommets 3/4″ diameter. All copy or images must be 2″ away from the edges, otherwise they will be sewn into.